|
Now the fun begins....
To create the milling data is almost like breathing, so easy.
You only need to click 2 buttons and Voila...
|
|
|
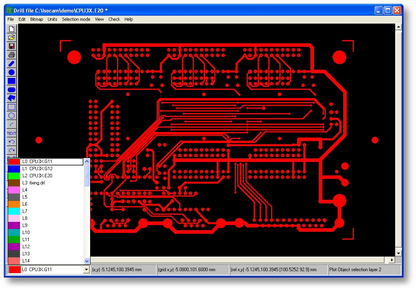
| • | Make sure the correct layer is selected. |
| • | In our case select layer 0: CPU3X.G11. |
|
|
|
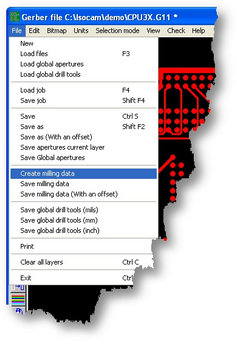
| • | Select from the file menu: Create milling data |
|
|
|
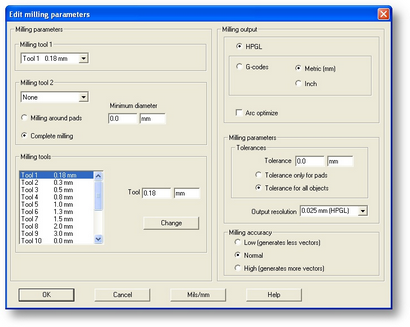
| • | See the special section about milling parameters. |
| • | (you do not need it for this tutorial |
|
|
|
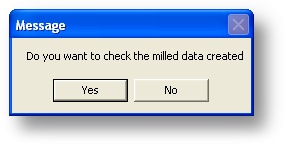
| • | After the calculation, this message appears, click the Yes button. |
| • | Engraver will now check for conflicts in milling. |
|
|
|
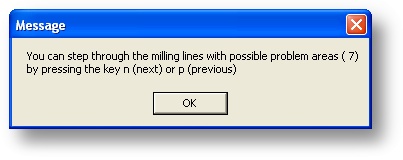
| • | Engraver found but solved 7 conflicts |
| • | Use the 'n' key to step through the conflict list |
| • | You may use the 'p' key to go back in the list. |
|
|
|
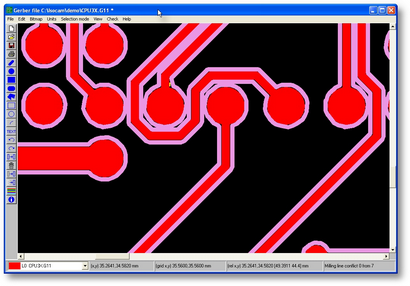
| • | As you step through the list, you see that in this design the conflicts are no problem at all. |
| • | They are just points which the tool cannot reach. |
|
|
|
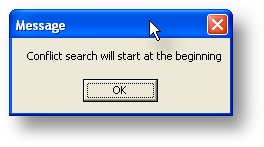
| • | Keep scanning through the conflict list until you see this message. |
| • | Now you are sure there are no real errors found (in this case) |
|
|
|