|
|
|
|
|
|
|
|
|
|
|
Create rub outs |






Sometimes you want a whole area without copper.
This is true for traces and pads that are connected to high voltages.
Here you could use Rub-outs.
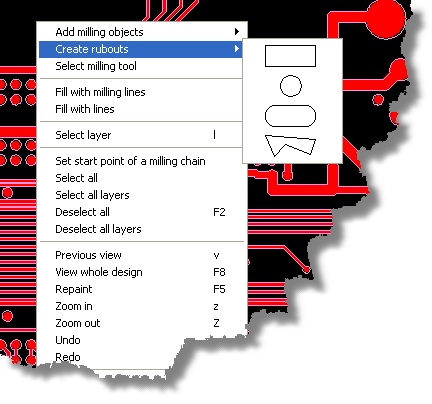
You may select different forms for the rub-out.
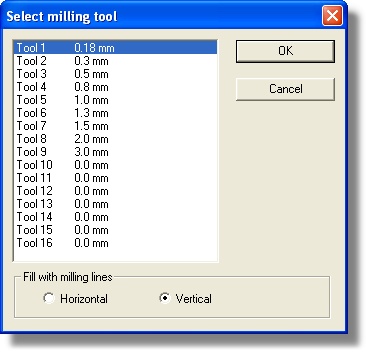
After selection you will see the next dialog box.
|
Here you select the milling tool you want to use, a smaller tool gives better results but generates more vectors, so you may have to experiment a bit here with different tool sizes.
Now select horizontal or vertical depending on the trace pattern. Because rub-out generates a lot of traces, it's best to select the direction in which the most traces are running. You can imagine that, if a lot of traces run horizontal and you select vertical rub-out, you get much more vectors then if you select horizontal rub-out. |
Now place the mouse in the center of the area you would rub-out. Hold the left mouse down and move the mouse, on release your rub-out is created. |
|
|
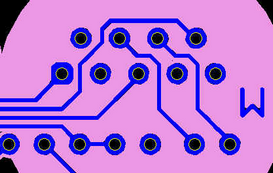
Take is a closer look at the rub-out. Please note that you should first do the normal milling of the board and then the rub-outs
|
|
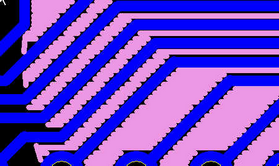
On this next picture you see the result of a rubout on a board that has no milling yet.
Because Engraver expects that you have done the milling generation before, it does not bother to smoothen the edges. |
Important: Always perform the milling of the board first, then do rub-outs.